Checking for Roof Damage after a Storm
At ORB Roofing Solutions, we recognize the significant impact that severe storms can have on homes, especially roofs. Even seemingly minor storms have the potential to cause hidden damage that, if left unattended, could result in more extensive and costly issues down the line. That’s why we emphasize the importance of conducting a comprehensive roof inspection following any storm. In this guide, we will guide you through a step-by-step process for checking your roof for damage, employing an easy-to-follow structure. Our goal is to empower you with the knowledge and tools to safeguard your roof and your home’s integrity.
Step 1: Prioritize Safety The initial and foremost consideration is ensuring your personal safety:
- Wait for the storm to abate and the weather conditions to clear. This ensures a safe environment for your inspection and minimizes the risk of accidents.
- Equip yourself with sturdy footwear to minimize the risk of slips and falls on potentially wet or unstable surfaces.
- Use a secure ladder and have someone on hand to assist and ensure safety. Having a spotter can provide an extra set of eyes for potential hazards.
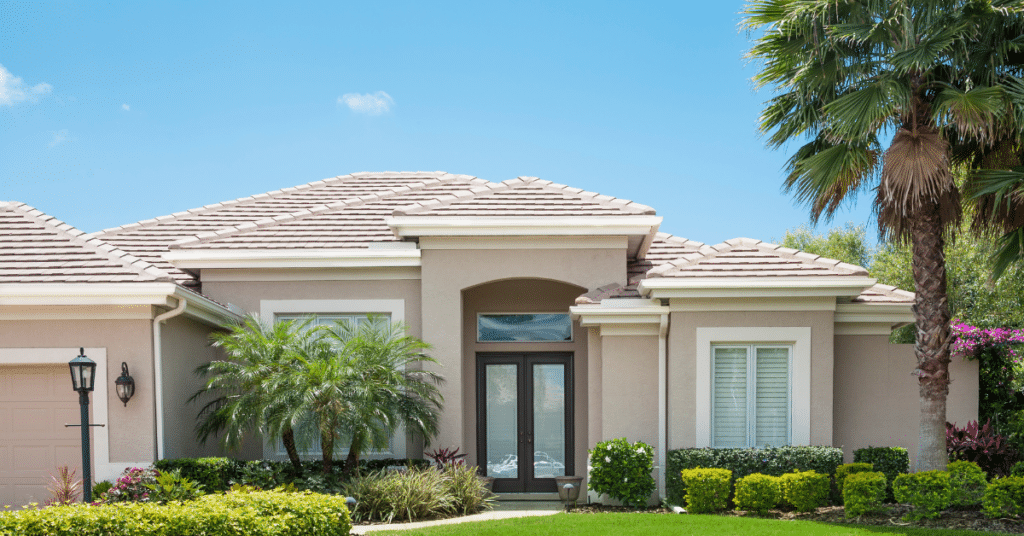
Step 2: Exterior Roof Examination Initiate the inspection by evaluating the exterior of your roof:
- Begin by taking a step back and assessing the overall condition of the roof from a distance. Look for any noticeable changes in the roof’s appearance, such as areas where shingles might be missing or damaged.
- Scrutinize for any missing, cracked, or curled shingles, paying extra attention to any shingles scattered on the ground. These could be indications of wind damage or structural weaknesses.
- Extend your examination to metal roofs, identifying any dents or cracks that may have emerged due to hail or debris impact.
- While at it, inspect the chimney and vents for any signs of damage or displacement. Ensure that these crucial components are intact, as they can lead to leaks if compromised.
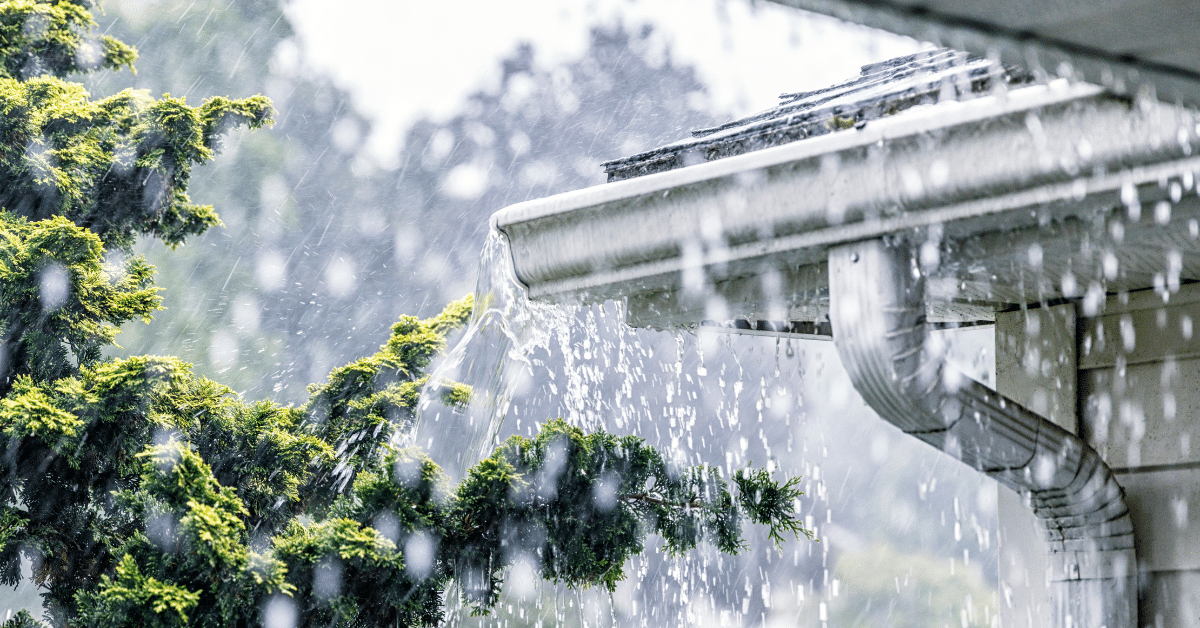
Step 3: Focus on Gutters and Downspouts Direct your attention to gutters and downspouts, checking for debris and damage:
- Clear away any debris from gutters and downspouts to guarantee proper drainage. Clogged gutters can lead to water backing up under the roof’s edge, causing water damage.
- Watch for the presence of granules from shingles in the gutters, as their presence can signify shingle damage. Granules protect shingles from the sun’s UV rays and contribute to their longevity.
- Evaluate gutters and downspouts for dents, bending, or detachment caused by the impact of fallen branches or heavy debris. Addressing these issues promptly ensures proper water flow and prevents further damage during future storms.
Step 4: Investigate the Attic Proceed to the attic for an internal inspection in search of signs of roof damage:
- Inspect the ceiling and walls for water stains, dampness, or any evidence of leaks. These stains might not be directly under the damaged area due to the water’s path along roof structures.
- Direct your attention to the underside of the roof, scouring for water trails or discoloration that could point towards damage. Water trails can indicate leaks or inadequate insulation ventilation.
- Take a look at the insulation, as damp insulation can compromise its effectiveness and lead to further issues such as mold growth. Replacing wet insulation is crucial for maintaining energy efficiency.
Step 5: Assess the Interior Examine the interior of your living space for indirect indications of roof damage:
- Be on the lookout for water stains on walls, particularly near windows and doors. Leaks can travel along wall structures and manifest away from the actual point of entry.
- Scrutinize the condition of the paint and wallpaper, noting any peeling or bubbling that could be indicative of water intrusion. Damaged paint and wallpaper can be early warning signs of roof leaks.
- Investigate the flooring for any unanticipated wet spots or puddles. Water can travel from the roof through ceilings and walls, eventually reaching the floor.
Step 6: Document and Capture Images Throughout your inspection, take clear photographs of any damage you come across:
- Aim to capture both close-up shots and wider angles to provide a comprehensive visual record. These images will be valuable for insurance claims and contractor assessments.
- Document any debris, fallen shingles, or any other visible damage you encounter. Photographs of specific damage can help professionals provide accurate repair estimates.
- These photographs will serve as valuable documentation for insurance claims and professional assessments. Having visual evidence ensures a smoother claims process.
Step 7: Seek Professional Expertise Should you uncover significant damage, it’s wise to enlist the aid of roofing professionals:
- Reach out to reputable roofing companies to schedule inspections and obtain estimates for repairs. Professionals have the expertise to assess the extent of damage accurately.
- In instances where the damage is covered by insurance, initiate the claims process promptly. Insurance claims often require timely reporting and documentation to expedite the process.
- It’s essential to avoid attempting major repairs on your own, as professionals possess the necessary expertise and safety equipment. DIY repairs can lead to further damage and personal injury.
Step 8: Implement Preventive Measures While awaiting repairs, take proactive steps to mitigate further damage:
- Cover exposed areas with tarps to prevent water from infiltrating your home. This temporary solution can help minimize water intrusion until permanent repairs are conducted.
- Trim any overhanging branches or trees that could potentially pose a risk during future storms. Overhanging branches can be hazardous during high winds and storms.
- Address minor issues without delay to prevent their escalation into more substantial problems. Timely repairs can prevent relatively small problems from turning into costly and extensive damage.
Preserving Your Home
At ORB Roofing Solutions, we understand that your SW Florida home is not just a place; it’s a haven where memories are created and cherished. Engaging in a thorough roof damage assessment following a storm is a proactive approach to safeguarding this haven and your investment. By diligently following these meticulously outlined steps and responding promptly, you can address issues at their inception, preserving the long-term integrity of your roof.
Remember, your safety and peace of mind are paramount. When uncertainty arises, we are here as your trusted roofing professionals, ready to ensure a comprehensive assessment and execute effective repairs. With our expertise, you can confidently weather any storm, secure in the knowledge that your home is protected by a sturdy and resilient roof above your head.